
Project 2
Catapult

Design an automated catapult that senses target distance, adjusts its launch mechanism, and hits targets accurately at varying ranges.
Overview
The Catapult project requires teams to design and build an automated projectile launcher using the provided electronics and mechanical components. The system must be capable of detecting target distance and adjusting the launch mechanism to accurately hit the target.
Teams will integrate sensing, control systems, and mechanical design to create a fully automated catapult capable of aiming and firing projectiles at targets placed at varying distances. The intended high-end path is automated target finding and directional aiming using the provided sensor workflow, while the rubric below still distinguishes between full and partial automation.
The project encourages creativity in embedded programming, mechatronics, and system integration.
Objectives
Participants must design a system that:
- Identify and measure the distance to the target using the
VL53L0X V2Time-of-Flight sensor. - Calculate the required launch and aiming parameters.
- Adjust the catapult mechanism automatically using motors.
- Launches a projectile to hit the target as accurately as possible.
- Display system information on the OLED display for monitoring or troubleshooting.
Materials Provided
| Item | Picture | Description |
|---|---|---|
Raspberry Pi Pico 2 |
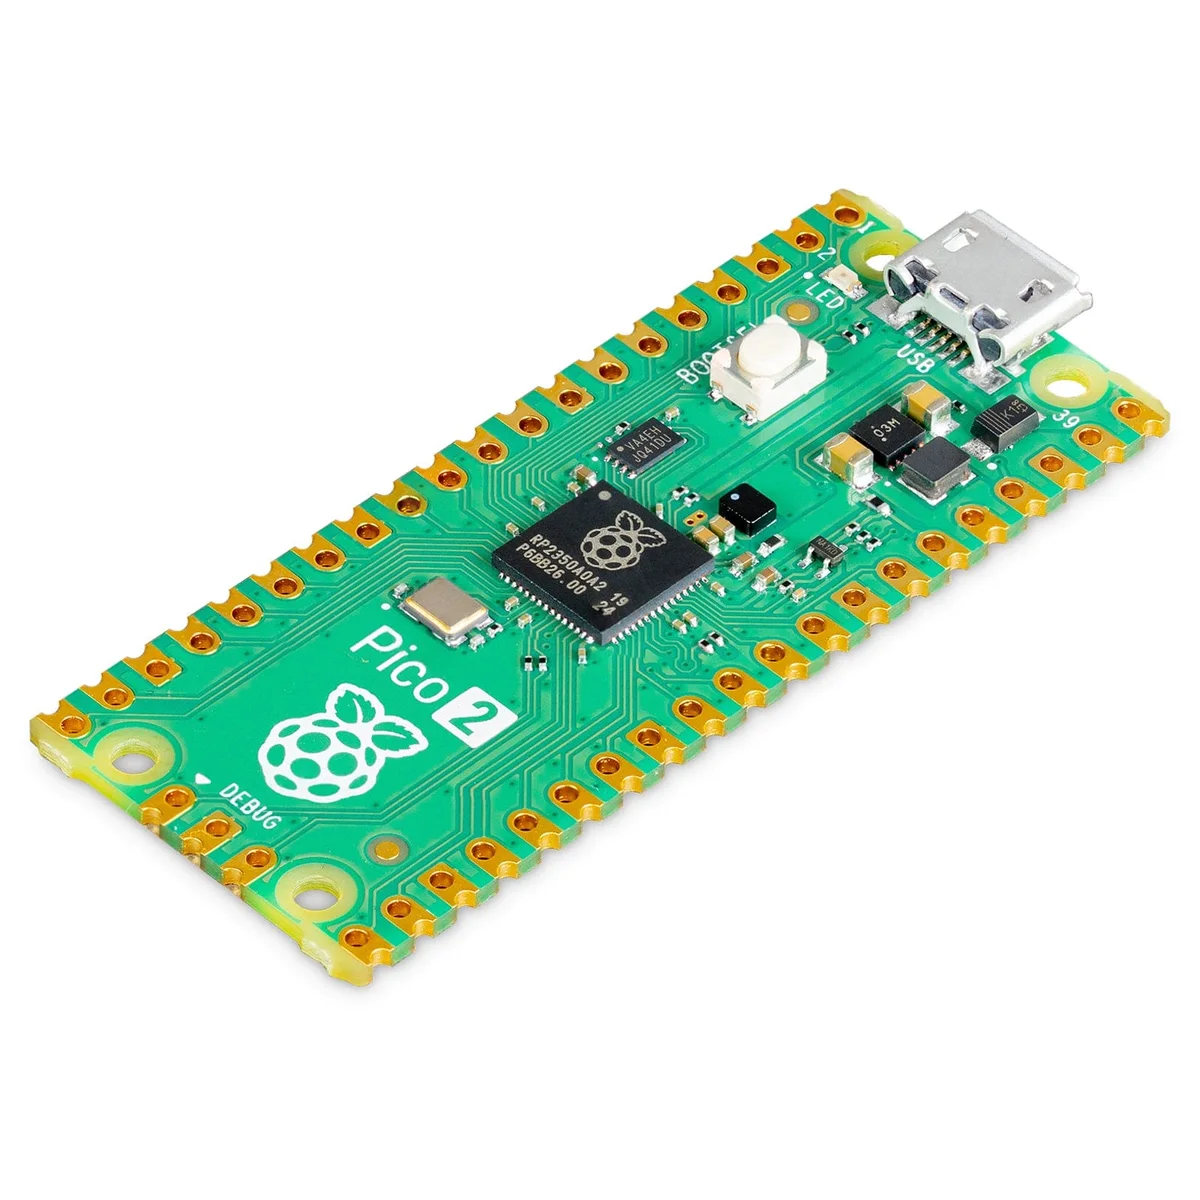
|
Main controller for the catapult. It reads the sensor, computes shot settings, drives the actuators, and updates the on-board display. |
VL53L0X V2 Time-of-Flight (ToF) laser ranging sensor |
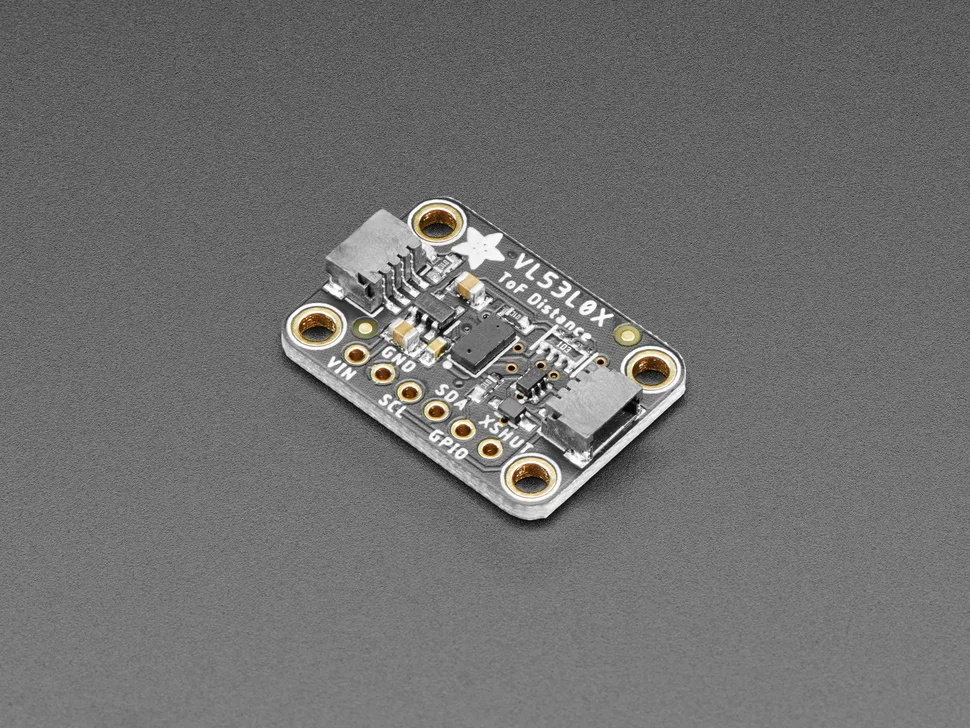
|
Measures target distance so the launcher can choose the correct shot profile or automate tower finding in higher-end builds. |
MG996R 360 servo |
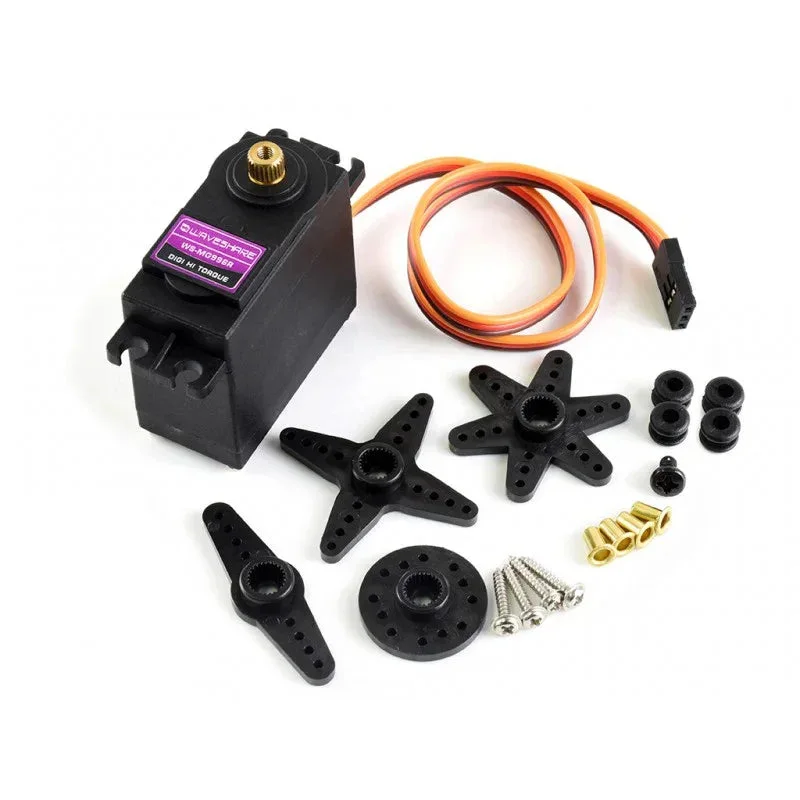
|
High-torque servo for heavier mechanism motion such as cocking, feeder drive, or another powered stage that needs more torque than the small servo can provide. |
MG90S micro servo |

|
Smaller actuator for light tasks such as a latch, gate, sensor mount, or release linkage. |
NEMA 17 42 stepper motor |
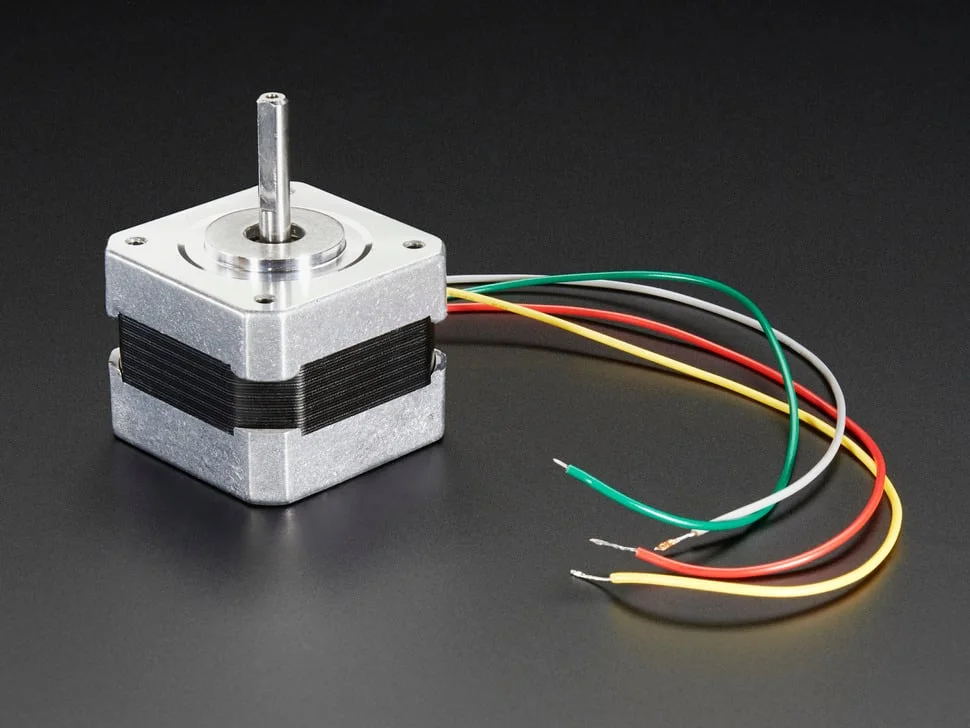
|
Provides repeatable positioning for an aiming axis, turret, or adjustable launch geometry where precise motion matters more than raw speed. |
DRV8825 stepper motor driver with heat sink |
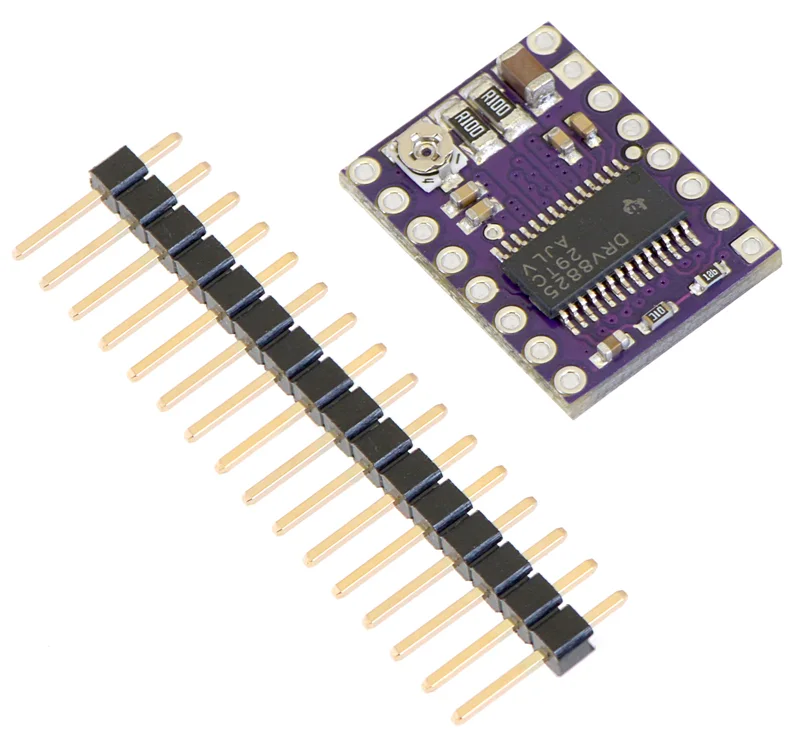
|
Interfaces the Pico to the stepper motor and provides current-limited, direction-and-step control for accurate positioning. |
LM2596S DC buck converter |
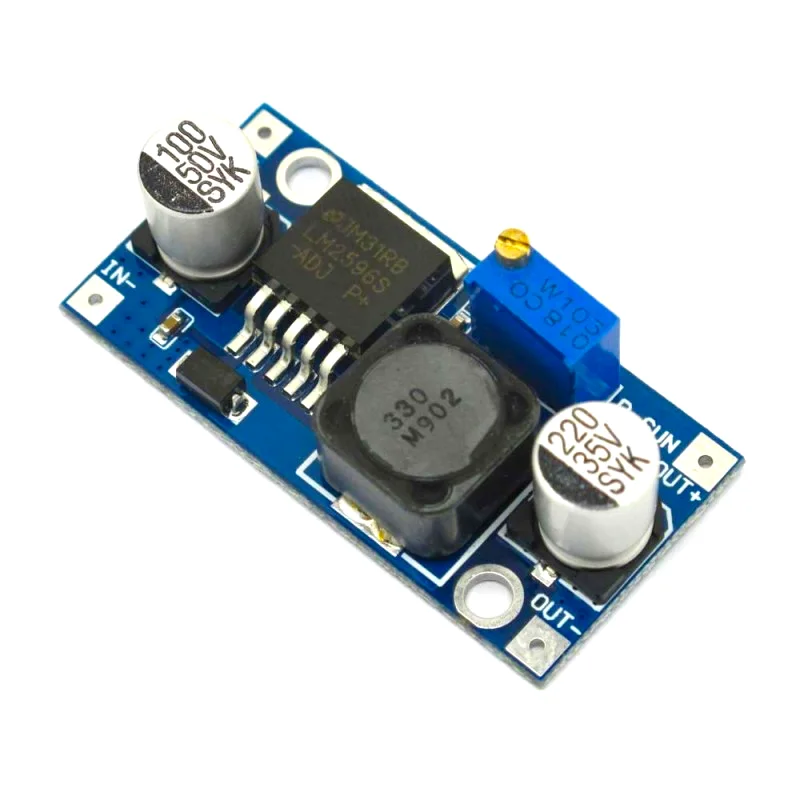
|
Steps the main supply down to cleaner lower-voltage rails for logic, sensors, and any peripherals that should not be fed directly from the higher-power input. |
12V 6A power supply unit |
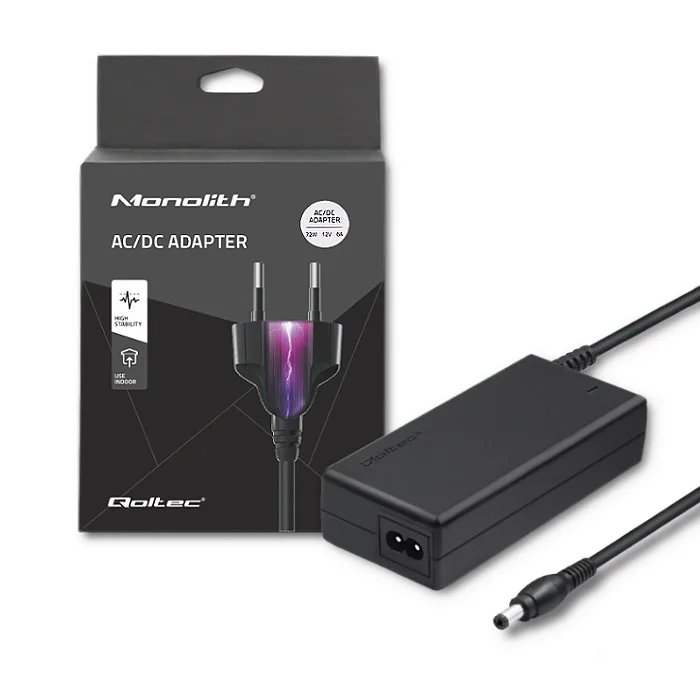
|
Primary bench supply for the launcher, especially during tests where motors, drivers, and other higher-current loads need a stable source. |
0.96" OLED display module |
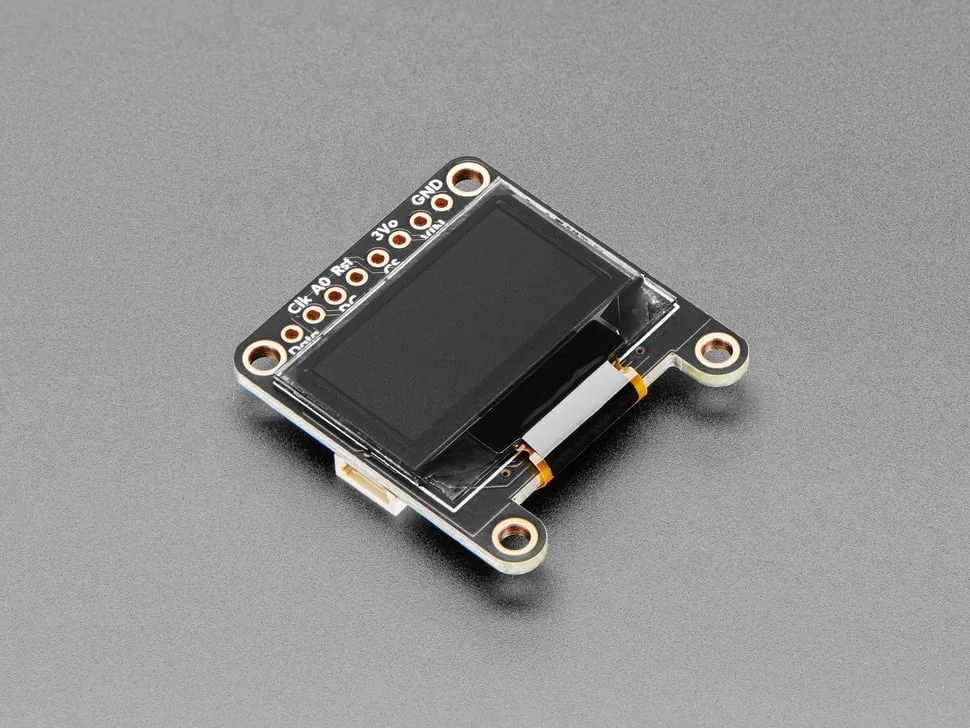
|
Useful for distance readings, calibration state, selected firing mode, and other live debug information during setup and testing. |
Perfboard 7 x 9 cm |
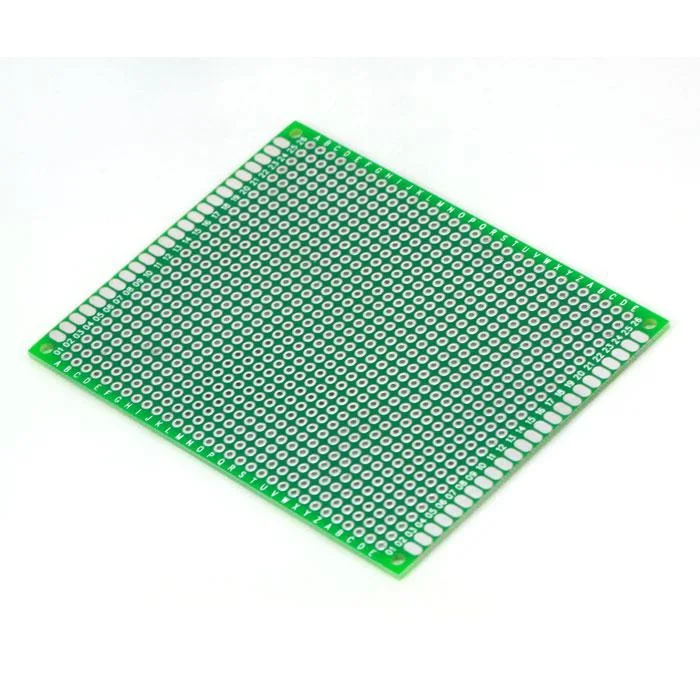
|
General-purpose prototyping board for soldered wiring, small interface circuits, and more durable assembly than a temporary breadboard. |
USB-A to Micro-USB cable |
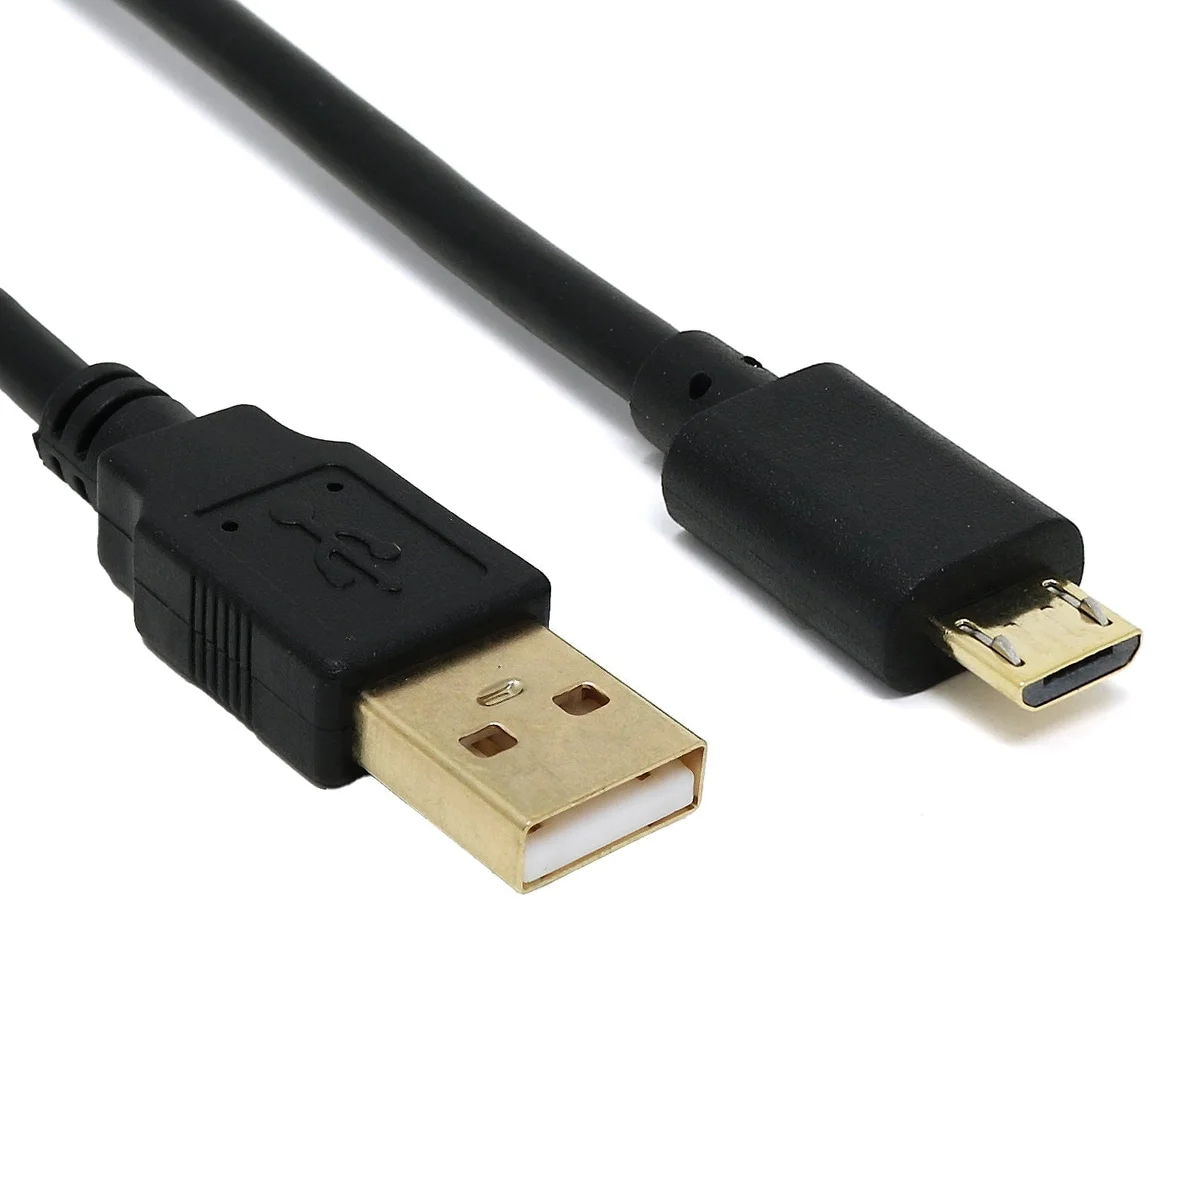
|
Used to power and program the Pico during development, testing, and firmware updates. |
Common Materials
- Mini Precision Screwdriver Set
2-meter 22AWG Single Core WireM3x10mmScrews- Assorted Electronic Components Kit
12 Value Assorted Capacitor Kit
Quickstart
- Start with VS Code Setup and Power & Wiring before you integrate the full launcher.
- Prove the Pico 2 can read the
VL53L0X V2and command one actuator cleanly. - Get consistent launches with a
30 mmprojectile before you automate reload or tower finding. - Treat automatic target finding and directional aiming as part of the high-end solution, then layer extra automation on top.
Projectile Rules
- Use
30 mmdiameter 3D-printed balls as projectiles. - Each kit will include
3projectiles for testing. - There is no limit on the number of extra projectiles your team may print, as long as they remain
30 mmin diameter. - A magazine or similar reload mechanism is strongly recommended.
Tower Layout Reference
A tower reference image will be added here before launch. Until then, use the distances and scoring rules below as the source of truth.
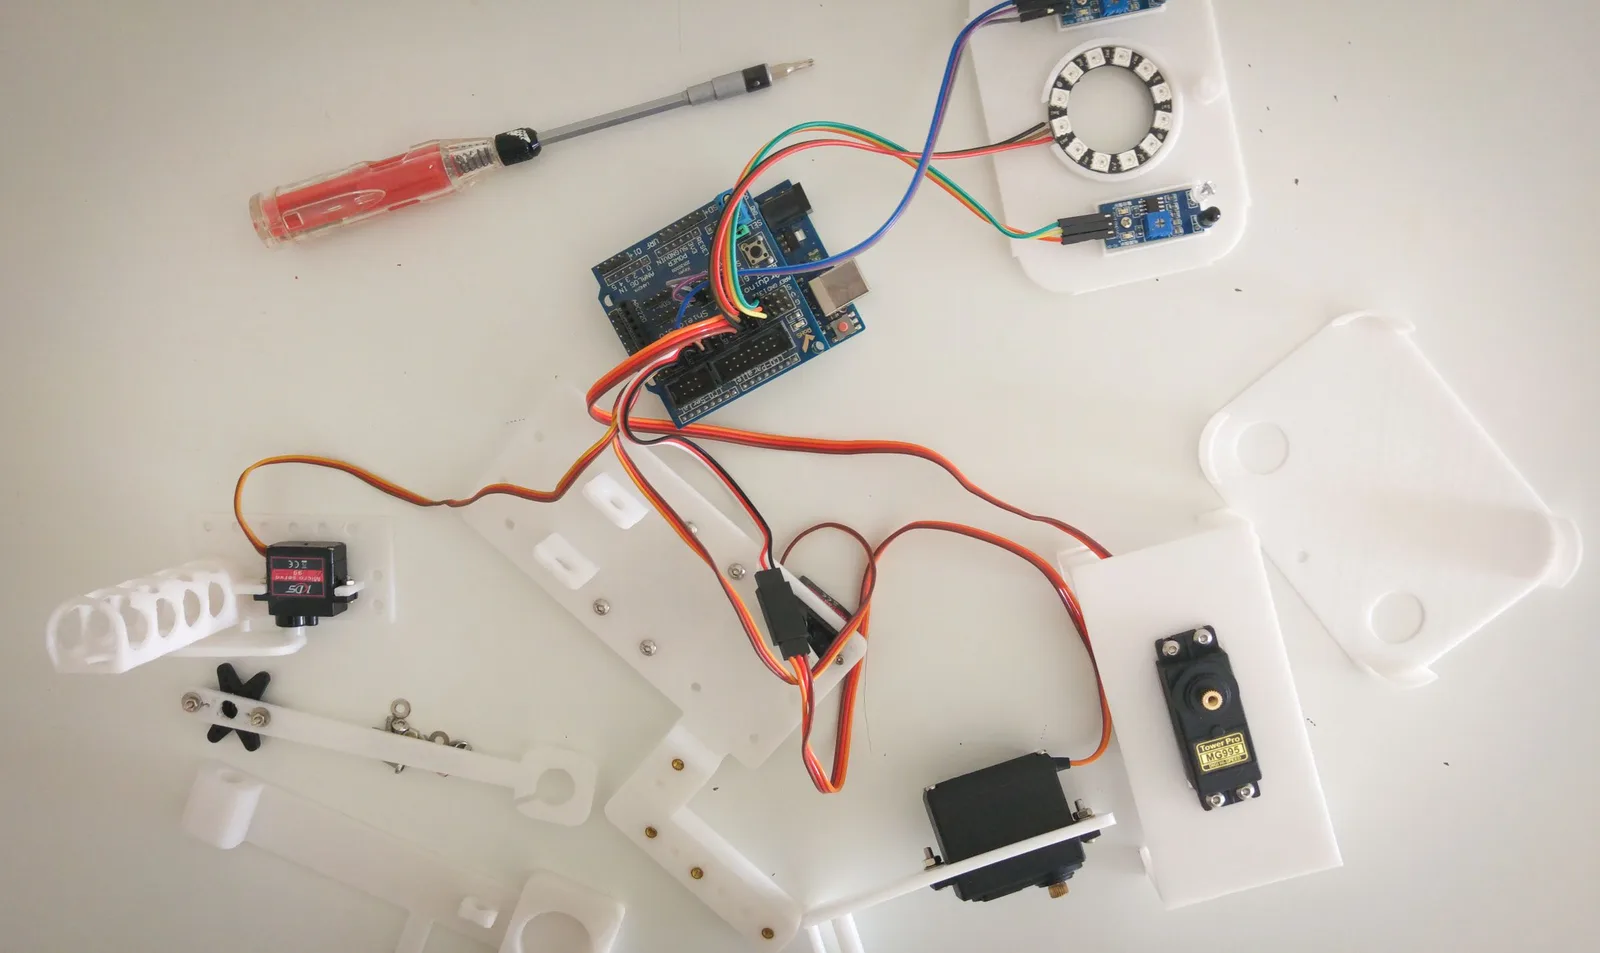
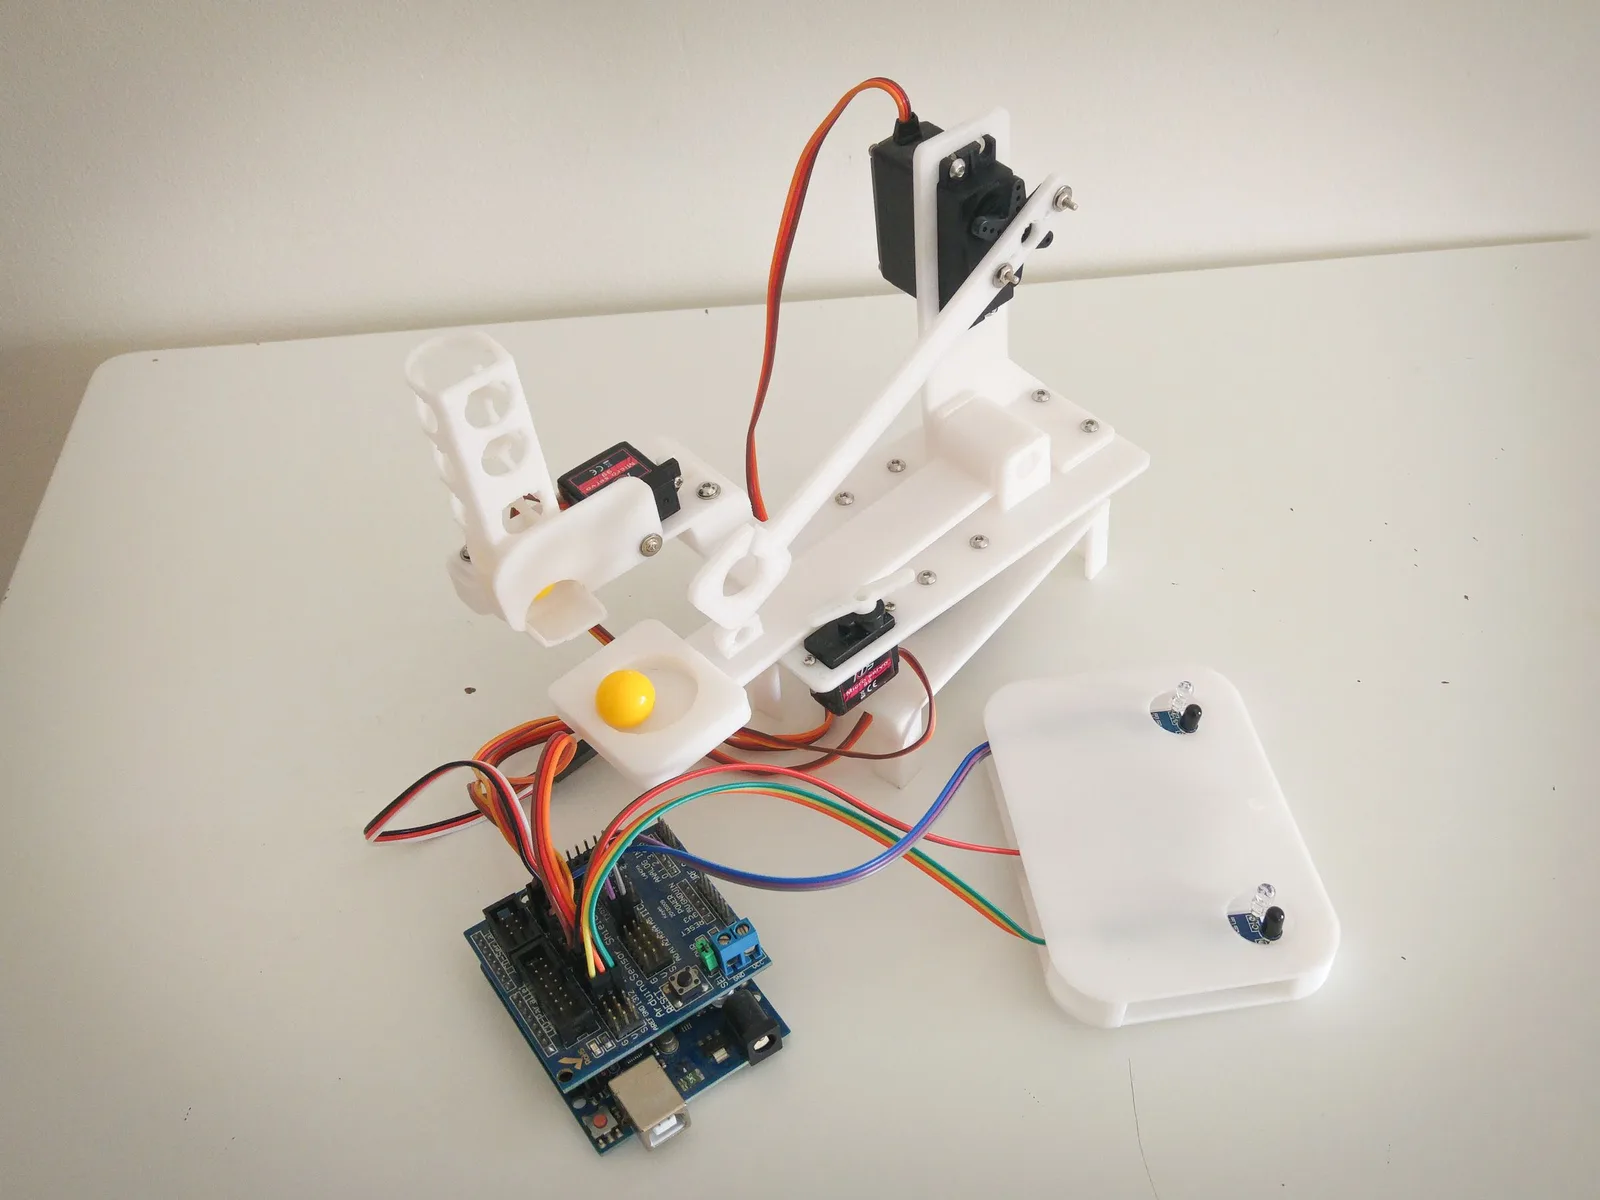
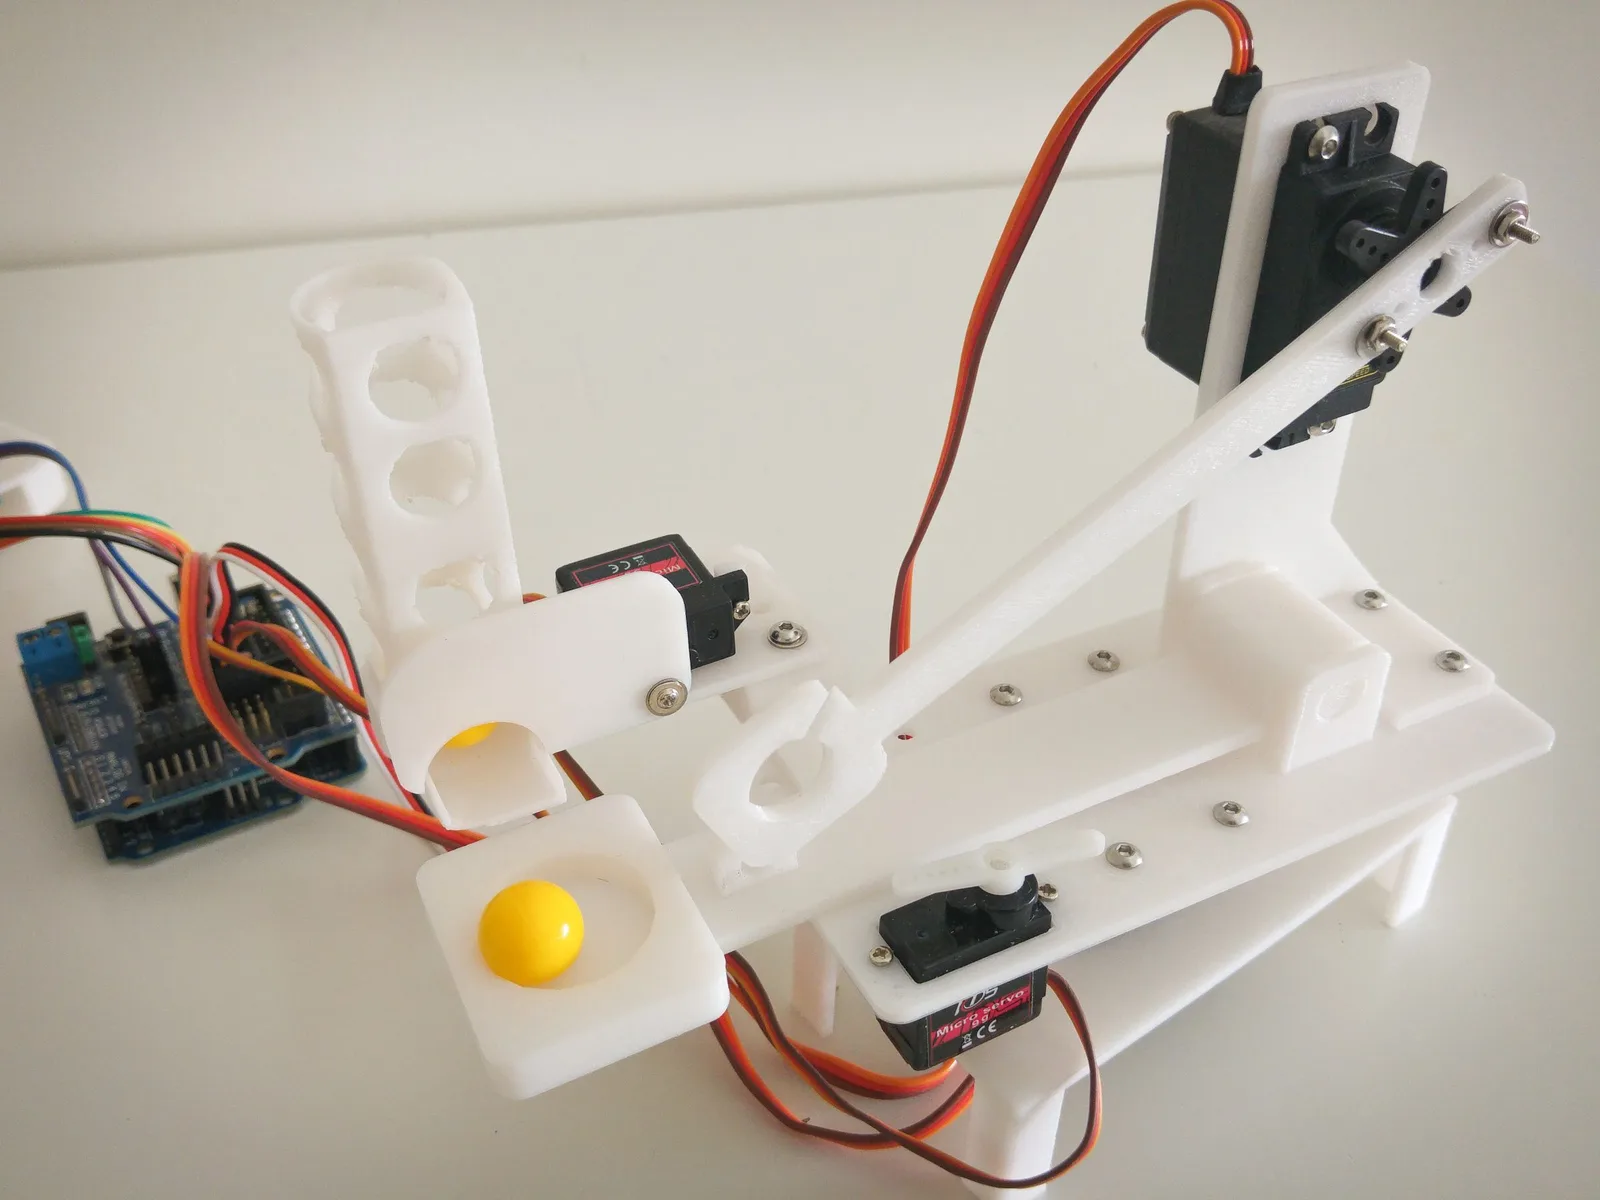
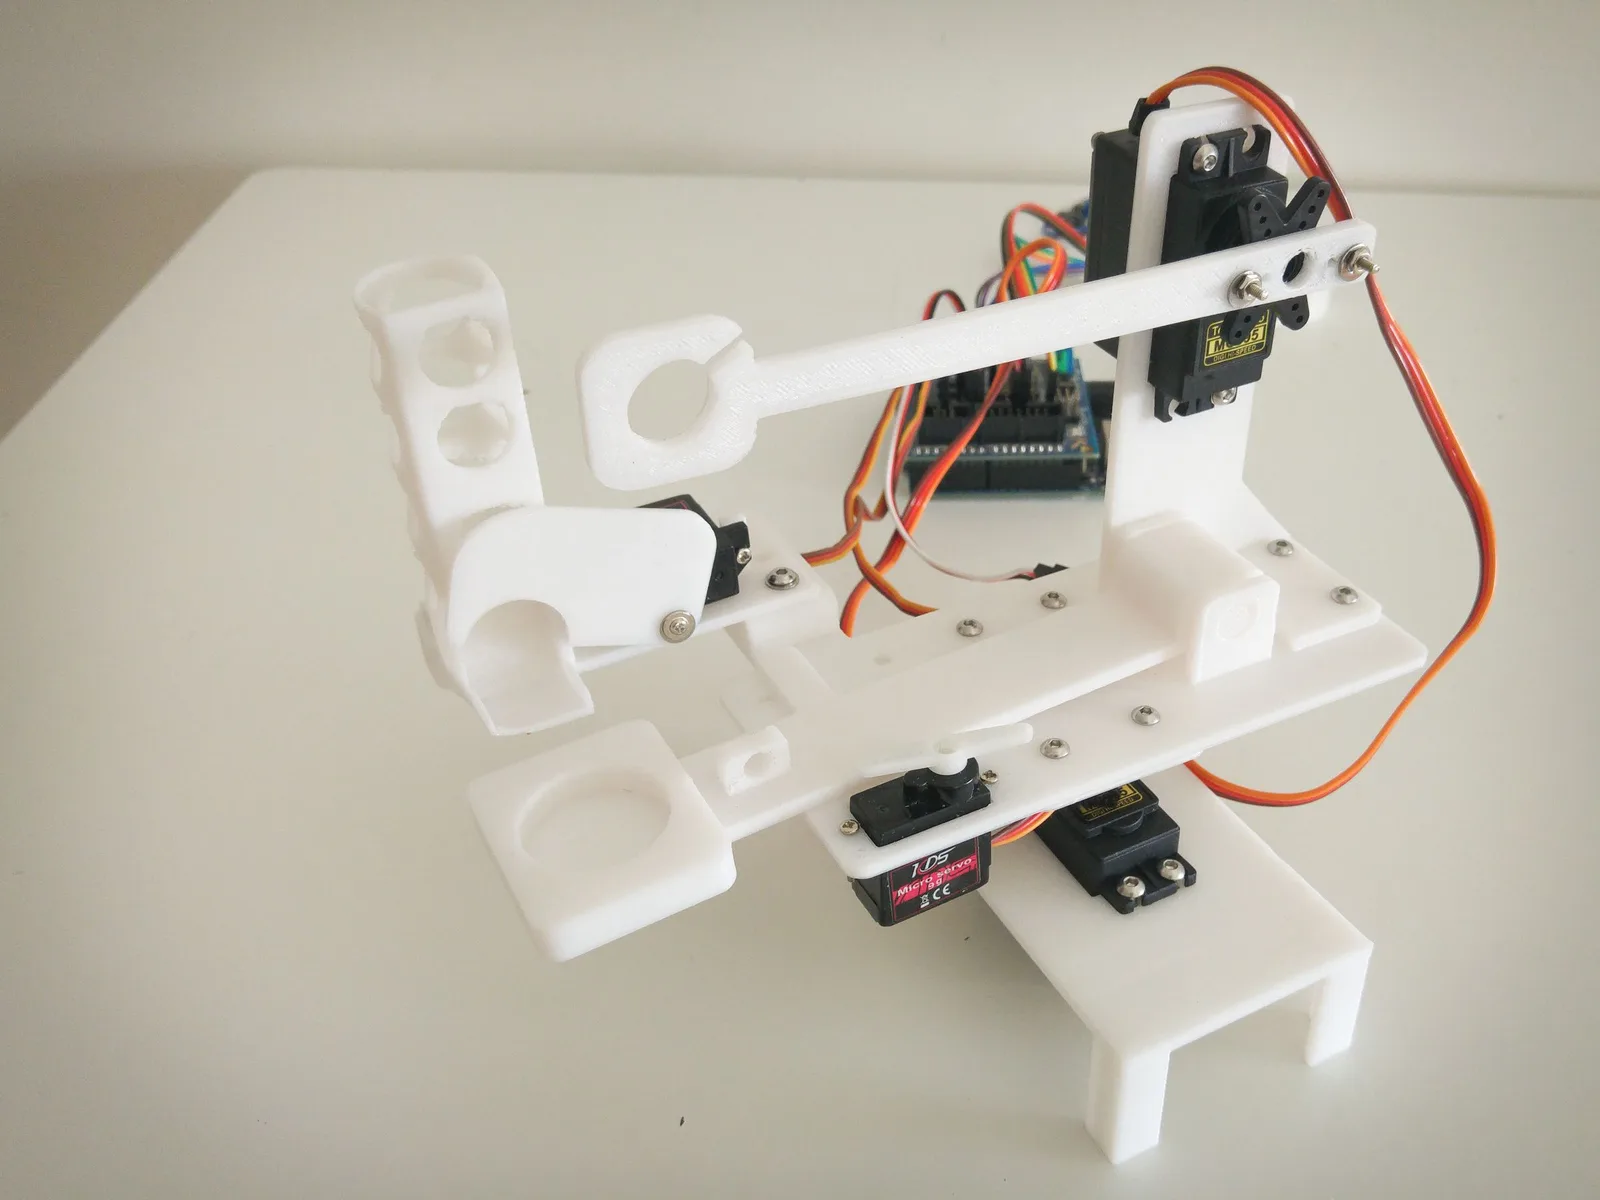
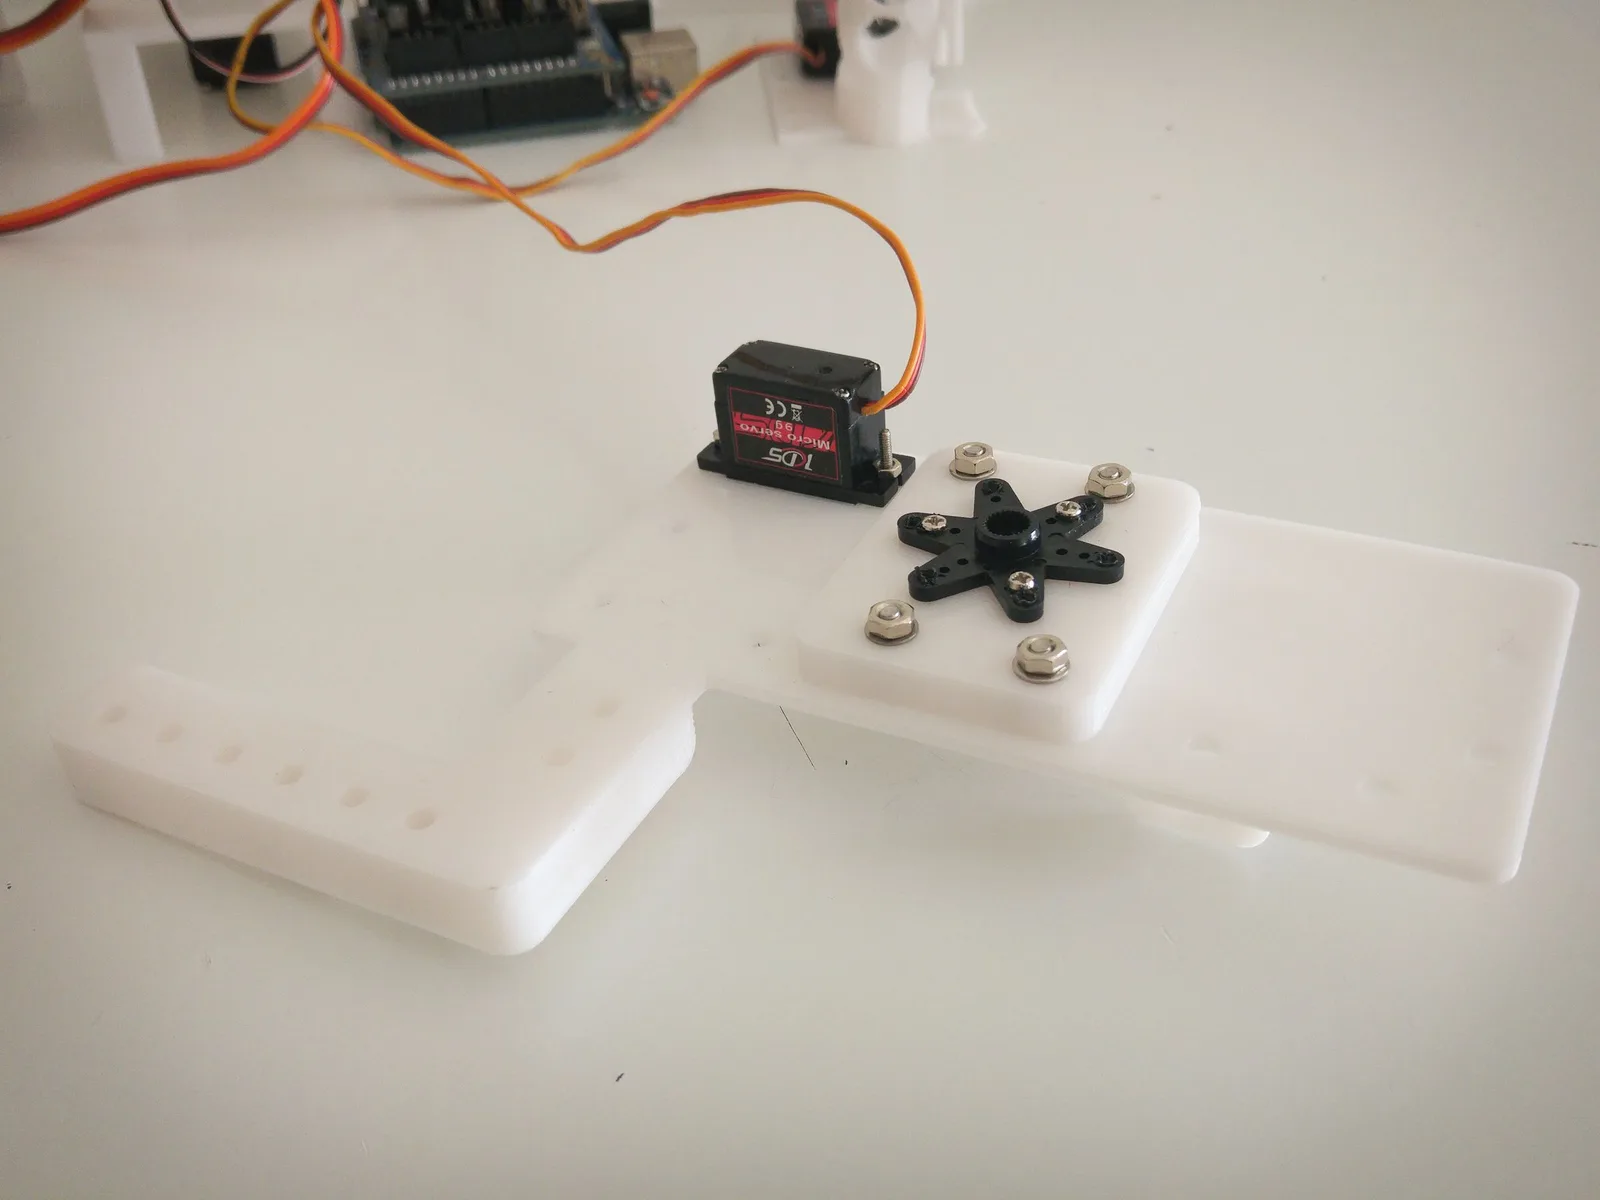
Inspiration Reference
The main inspiration for this project was the Instructables project Arduino Robot Catapult:
Teams may find it useful as a high-level reference for automation flow, launch sequencing, and general mechanism ideas.
Important constraints for this project:
- Treat the Instructables build as inspiration only. The Hack-A-Bot kit is materially different from the parts used in that project.
- Use of the external 3D files from that build is not allowed in this project.
- If you borrow ideas from it, you should adapt them to the components, geometry, and constraints of the kit provided here.
Reference Gallery
These photos are copied from the Arduino Robot Catapult Instructables page and are included only as visual reference for mechanism layout, actuator placement, and launch sequencing.
Common Failure Points
- inconsistent projectile size or mass between test shots
- trying to solve reload, scanning, and launch power at the same time
- unstable power delivery when multiple motors or drivers move together
- mounting the sensor in a way that cannot reliably see the towers
Programming approach
VS Code is the primary recommended workflow for this project. Start with VS Code Setup for toolchain bring-up and Power & Wiring before running launch hardware at full load.
- Recommended path: VS Code
- MicroPython or Arduino IDE can still be used if your team already knows them, but treat them as secondary options
Scoring Criteria
Maximum score: 100 points
The project rewards automation, accuracy, engineering quality, and software implementation. Systems with higher autonomy levels receive higher marks.
1. Level of Automation (50 Points)
| System Type | Description | Points |
|---|---|---|
| Fully Autonomous System | System measures distance, calculates launch parameters, aims, and fires automatically with no human input. | 50 |
| Semi-Autonomous (Manual Aim + Automatic Launch) | Users align the system with the target direction, but the system measures distance and automatically calculates launch parameters and fires. | 30 |
| Distance-Assisted Launch | System measures distance and displays recommended settings, but the user manually adjusts and triggers the launch. | 15 |
| Fully Manual System | User performs aiming and launching manually without automated assistance. | 0 |
2. Accuracy Scoring - Block Target System (40 Points)
The target will consist of 6 columns of 3 stacked blocks, arranged by distance from the catapult at marked positions around a circle with the catapult in the center.
Target Layout
- 2 Close Columns (0.8m)
- 2 Middle Columns (1.3m)
- 2 Far Columns (1.8m)
Teams aiming for the fully autonomous category are expected to locate and aim at these towers automatically. Lower automation categories are still scored using the rubric above.
Calculation method:
- Only the top two blocks in each column count toward scoring. The bottom block does not count, even if it falls.
Number of boxes fallen* distance multiplier
| Distance | Multiplier |
|---|---|
| Close | 2 |
| Middle | 4 |
| Far | 6 |
- Total score after 5 shots is the score for accuracy
3. Engineering & System Design (5 Points)
Judges will assess:
- Stability of the mechanical structure
- Quality of assembly and wiring
- Effective use of provided components
Score: 0-5 points
4. Innovation & Creativity (5 Points)
Points may be awarded for:
- Creative catapult designs
- Unique engineering solutions
Score: 0-5 points
Supporting Documentation
- Raspberry Pi Pico 2 pin out: https://www.raspberrypi.com/documentation/microcontrollers/pico-series.html#pico2
- DIymore VL53L0X V2 Sensor: (User manual under description)
- https://www.aliexpress.com/item/32902676861.html?spm=a2g0o.productlist.main.46.51a2576a2xuzXY&algo_pvid=a342f1ac-b016-48d5-b2200441a47fd0fc&pdp_ext_f=%7B%22order%22%3A%2254%22%2C%22eval%22%3A%221%22%2C%22fromPage%22%3A%22search%22%7D&utparamurl=scene%3Asearch%7Cquery_from%3A%7Cx_object_id%3A32902676861%7C_p_origin_prod%3A#nav-specification
- https://www.st.com/resource/en/datasheet/vl53l0x.pdf
- MG996R Servo (High Torque): Check power requirements!
- MG90S Servo:
- Nema 17 42 stepper motor:
- DRV8825 Stepper Driver Guide:
- LM2596S DC Buck Converter:
- VL53L0X (ToF Sensor) Library:
- MicroPython: https://github.com/kevinmcaleer/vl53lx0
- C/C++ : https://github.com/adafruit/Adafruit_VL53L0X
- SSD1306-compatible OLED libraries:
- MicroPython : https://github.com/stlehmann/micropython-ssd1306