Step 1
Design
Use the CAD & 3D Printing Guide below to prepare a printable part and export the right file type.
Use this page for printer limits, file prep, and submission guidance before sending a job to the event print team.
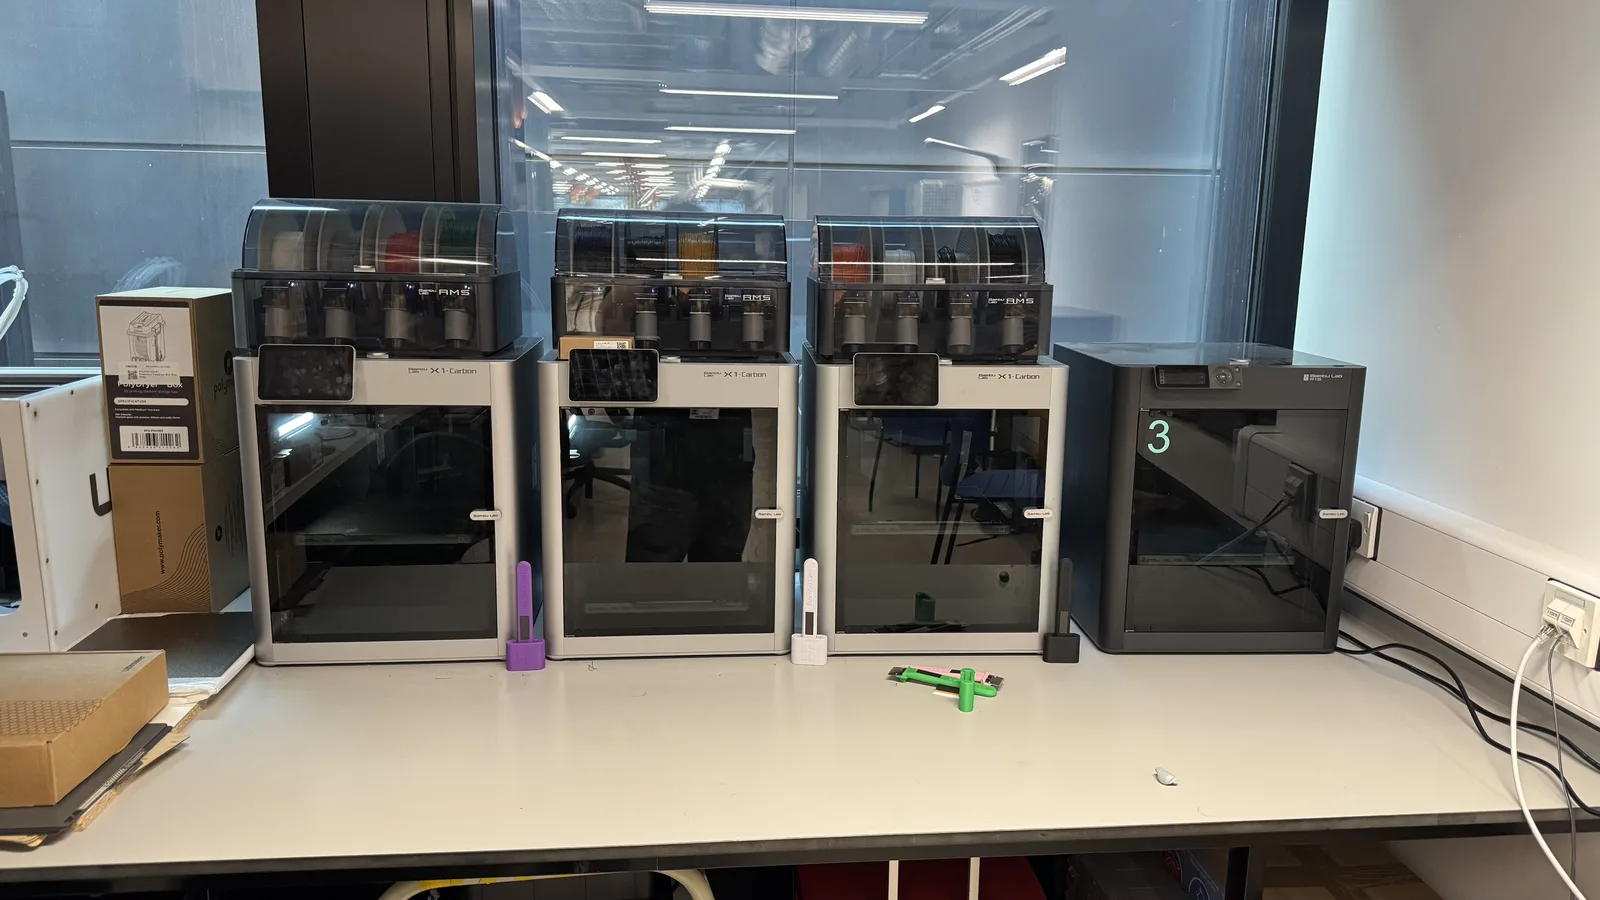
We expect a shared bank of fast Bambu Lab printers to be available throughout the event. They are ideal for brackets, mounts, sensor holders, adapters, and other small custom parts that benefit from quick iteration.

Step 1
Design
Use the CAD & 3D Printing Guide below to prepare a printable part and export the right file type.
Step 2
Upload
Upload your .3mf, .stl, or .step file to the public folder with a clear team filename.
Step 3
Confirm in Person
Go to the 3D printing area, tell a technician your student ID, and wait for confirmation.
Build Volume
About 256 × 256 × 256 mm maximum.
Recommended Size
Aim for parts under 200 × 200 mm when possible.
Accepted Files
Use .3mf, .stl, or .step in the public upload folder.
Typical timings for event-day parts:
| Part size | Typical print time |
|---|---|
| Small parts under 100 mm | 30 to 60 minutes |
| Medium parts up to 200 mm | 1 to 2 hours |
| Large parts near build limits | 3 to 4 hours or more |
Upload files to the public Google Drive folder in a slicable format: .3mf, .stl, or .step.
Use a clear filename such as:
studentid_groupname_printnumber
Examples:
11374538_aicamera3_01.3mf
11374477_rover5_02.stl
This makes it easier for the print team to track multiple uploads across teams and time slots.
Print times vary, and the print team may ask you to revise the part, reduce scale, or come back later if the printers are too busy.
If you are unsure whether something should be printed, ask the print team or a supervisor before sending it. Use Floorplan for location guidance.